

Elevate Corporate Training with Video Image Overlays


A video image overlay is any graphic element—a logo, a diagram, or an interactive button—placed on top of your training video as it plays. It's a simple technique with the power to add crucial context, branding, and interactive features directly into the video frame. This simple addition transforms standard, passive training content into an engaging, interactive learning experience.
Turn Passive Viewing into Active Learning

Let's be honest: traditional training videos often struggle to keep employees focused. Learners hit play, their minds wander, and they retain very little. This is exactly where a video image overlay can completely change the game. It transforms that passive viewing experience into an active one.
By embedding key information directly into the frame, you command attention and boost comprehension. Imagine a technical training video where a text overlay defines a complex term the moment it's mentioned. Or a compliance video where clickable icons link out to supplemental policy documents. These small additions make a massive difference in how information is received and remembered.
Why Overlays Matter in Corporate Training and Development
The goal of corporate training isn't just to broadcast information; it's to drive real-world performance and ensure that knowledge gets applied on the job. Overlays help bridge that gap by making your training content more dynamic and memorable.
This approach aligns perfectly with modern learning principles that emphasize engagement. The idea of making learning more interactive isn't new; you can see similar concepts in the success of gamification in education, where participation is key.
The adoption of this technology is also growing fast. The use of AI tools to automate video overlays is on the rise, with industry adoption expected to jump from 18% to 41% by 2025. It's clear that companies are looking for more efficient ways to deliver visually rich, effective training.
To give you a better idea of how this works in practice, here are a few common scenarios we see all the time:
Real-World Overlay Applications in Corporate Training
This table breaks down a few practical examples of how video image overlays can solve common training challenges and deliver measurable results.
These are just a few ways overlays can be used. The real power comes from tailoring the interaction to the specific learning objective.
Mindstamp Makes It Possible
With an interactive video platform like Mindstamp, you can bring these ideas to life without needing to be a video editing wizard. The focus shifts from just producing a video to creating a genuine interactive learning tool for your team.
By incorporating overlays, you can:
- Boost Learner Engagement: Keep your team actively involved instead of just zoning out.
- Improve Knowledge Retention: Reinforce key concepts at the exact moment they're being discussed.
- Measure Training Effectiveness: Track interactions to see what content is landing and what needs a second look.
This approach moves you beyond simple video playback and into the realm of truly effective educational design. For a deeper dive into this concept, check out our guide on applying active learning strategies to your training programs.
Planning Your Interactive Training Video Strategy
It’s tempting to jump right in and start adding cool graphics to your training video. But throwing overlays on without a clear plan is the fastest way to create confusing, ineffective content. A little strategy upfront is what separates a decent training video from a great one.
Before you open any software, you need a solid answer to one question: what do you want your employees to do or know after watching?
This starts with defining clear learning objectives. Once you know the specific skill or piece of knowledge an employee should walk away with, you can map your overlays directly to those goals. This simple step keeps you from adding graphics just for looks, making sure every video image overlay serves a real purpose.
For instance, if you're training a team on a new software workflow, your plan should pinpoint the exact moment to pop up a screenshot of a critical menu. Or maybe you need a hotspot to draw attention to a specific button. Suddenly, that overlay isn't just decoration—it's a vital instructional tool.
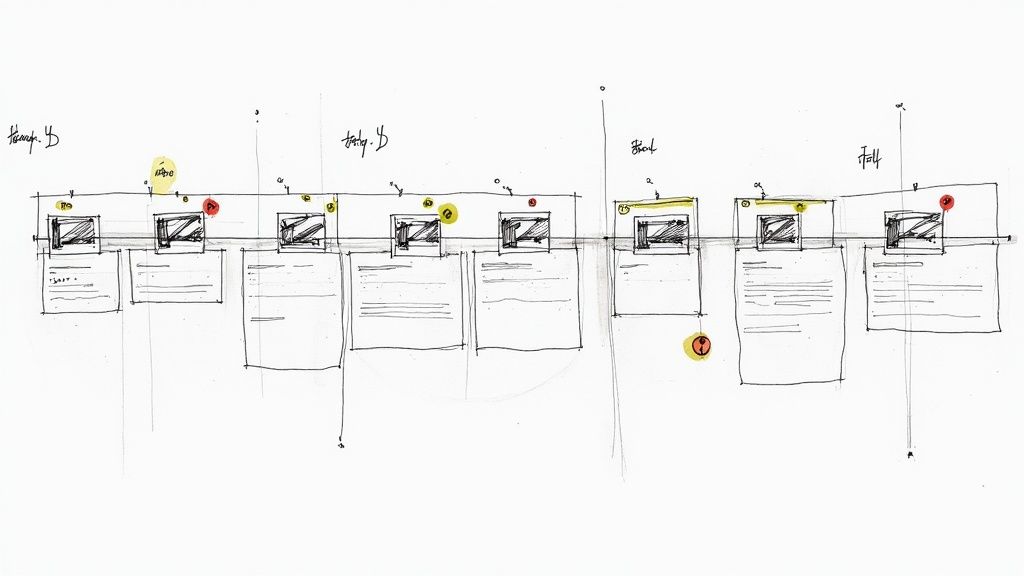
Storyboarding Your Interactive Moments
You don't need to be an artist to storyboard. A simple sequence of sketches on a whiteboard or a basic document outlining scenes can work wonders. The real magic happens when you integrate your overlay ideas from the very beginning.
This is where you start thinking about timing and interactivity. For each key segment of your training video, ask yourself a few questions:
- What kind of overlay belongs here? A simple text definition? A company icon? A detailed diagram?
- When should it pop up and go away? Maybe it appears at 0:45 and disappears at 0:52. Be specific.
- What happens if the employee clicks it? Does it link out to a PDF policy document? Or jump them to a different timestamp in the video?
Mapping this out visually makes the whole production process so much smoother, especially when you get into an interactive video platform like Mindstamp. It guarantees your overlays feel like a natural part of the lesson, not a clunky afterthought.
A well-planned training video just feels intuitive. The learner should never have to wonder why an overlay appeared. Its purpose should be immediately clear, guiding them right toward the learning objective.
Assembling Your Visual Assets
The final piece of your plan is getting your materials ready. You'll want high-quality image assets that look sharp and align with your company's brand. This means gathering or creating things like custom icons, product screenshots, diagrams, and maybe even some lower-third templates for speaker titles.
Do yourself a favor and organize all of these assets into a dedicated project folder before you start. Having everything on hand creates a much more efficient workflow once you're building the interactive experience in Mindstamp.
A pro tip: use PNG files with transparent backgrounds for your logos and icons. This lets them blend cleanly into the video without any awkward white boxes. This prep work saves a ton of time on the back end and gives you a much more professional, polished final product.
Bringing Overlays to Life in Mindstamp
With a solid plan in hand, it's time to bring your vision to life. This is where strategy turns into reality. Thankfully, platforms like Mindstamp make this process incredibly straightforward, even for those without video editing experience. The whole point is to let you focus on creating a great learning experience, not wrestling with complicated tools.
The first step is always the simplest: get your base video file uploaded. Once it's in the Mindstamp editor, you’ll see the interactive timeline. This is your command center for adding any video image overlay and getting everything just right.
This flow chart breaks down the core steps you'll take inside Mindstamp.

As you can see, it's a logical progression. You start with the video, drop in your overlay, nail the timing, and then add the interactive magic that gets your learners to take action.
Placing and Timing Your First Overlay
With your video loaded, you can start adding images directly onto the timeline. Think of the timeline as a map of your video. You can drag and drop your image file—whether it's a company logo, a product shot, or a diagram—to the exact second you want it to appear on screen.
From there, just grab the edges of the image clip on the timeline to stretch or shrink its duration. It's that easy. For example, in a compliance video, I might have a "Download This Guide" button pop up at the 30-second mark and stay visible until the one-minute mark, giving people plenty of time to click.
Fine-Tuning Position and Size
Getting the timing right is half the battle, but placement is just as critical. A badly positioned overlay can block important visual information or just look sloppy. Mindstamp lets you click and drag the overlay anywhere you want on the screen and resize it by pulling on the corners.
The goal is to make it look great on any device, from a huge desktop monitor to a tiny smartphone screen. My rule of thumb is to stick non-critical overlays, like brand logos, in the corners where they won't get in the way. For actionable overlays like buttons, I usually place them in the lower-third of the screen—they’re easy to see but don’t obstruct the main action.
The best overlays feel like they belong in the video. They should guide the learner's attention without screaming for it, supporting the message instead of distracting from it.
Making Your Overlays Interactive
This is where you unlock the real power of image overlays for training. A static picture is fine, but an interactive one can completely transform the learning experience. With just a few clicks in Mindstamp, you can assign an action to any image you've placed.
You have some seriously powerful options here:
- Link to External Resources: Turn an image into a clickable button that opens a new tab to a PDF, an internal wiki page, or a related policy document. This is my go-to for providing deeper context without bloating the video itself.
- Jump to Another Time: Create a "Skip to the Next Section" button that lets employees navigate long training videos. This gives them control and respects their time.
- Launch a Question or Quiz: Test understanding on the spot. Imagine a safety training video where clicking on a piece of machinery triggers a pop-up question about its proper use. Brilliant, right?
By exploring the different ways to use an image interaction, you can build a truly dynamic and responsive experience. Every click becomes a measurable data point, giving you real insight into how your employees are engaging with the content. This is how you turn a one-way lecture into a two-way conversation.
Advanced Overlays for Deeper Engagement
Once you've nailed the basics of placing a single video image overlay, it’s time to get creative. The real magic happens when you start exploring more advanced techniques that can transform a simple training presentation into a rich, interactive experience that employees actually learn from.
The key is to think of your video not as a flat screen, but as a multi-layered canvas. Instead of just showing one thing at a time, you can stack overlays to provide different pieces of information at once, without it feeling cluttered. This is a total game-changer for complex training modules.
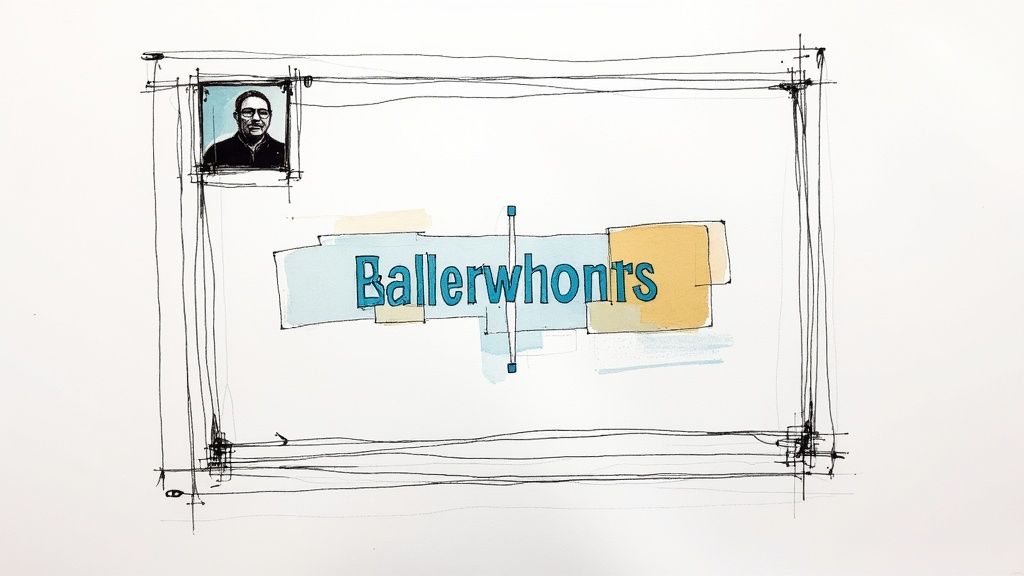
Layering Overlays for Richer Context
Let's say you're putting together a leadership training video. A common and effective technique is to keep a small, professional headshot of the speaker in the bottom-right corner. It’s a simple touch, but it maintains that personal connection and keeps the speaker visually present.
Now, while that headshot is on screen, the speaker starts discussing a complicated organizational chart. This is your cue to bring in a second overlay—a detailed diagram that pops up on the main part of the screen. Both elements are there at the same time, serving different purposes but working together to create a much clearer, more informative picture.
The Power of Subtle Branding and Transparency
Not every overlay needs to be a big, flashy, clickable button. In fact, sometimes the most effective overlays are the ones you barely notice. Semi-transparent overlays are fantastic for maintaining your company's branding without getting in the way of what’s happening in the video.
A slightly transparent company logo tucked into a corner is a great example. It reinforces your brand identity and gives your training materials a polished, professional feel. It’s always there, but it’s never distracting—the perfect balance for any corporate content.
Building Interactive Branching Scenarios
This is where your training can get really interesting. By making specific image overlays clickable, you can create branching paths that empower learners to navigate their own educational journey. This "choose your own adventure" style of learning is incredibly powerful for boosting engagement and making sure the information actually sticks.
Imagine a sales training scenario:
- The Setup: Your video shows a customer raising a common objection.
- The Choice: Two clickable image overlays appear: "Handle with Empathy" and "Counter with Data."
- The Outcome: Depending on which image the sales rep clicks, the video jumps to a different segment that plays out the consequence of that choice.
This approach transforms someone from a passive viewer into an active problem-solver. If you want to dive deeper into this, adapting broader strategies to improve customer engagement can offer some great ideas for internal training, too.
By giving learners control over their path, you empower them to explore consequences and learn from their decisions in a safe, simulated environment. This is far more impactful than simply telling them the right answer.
Aligning Design with Brand and Accessibility
As you start building more complex overlay strategies, it's easy to get carried away. But it's crucial that your design choices remain consistent and accessible to everyone. Every overlay, no matter how small, should feel like it belongs.
- Brand Alignment: Stick to your company's official colors, fonts, and icon styles. This kind of consistency is what makes the whole experience feel cohesive and professional.
- Accessibility: Always check for sufficient color contrast between your overlay and the video background. For anything that's clickable, use clear visual cues and maybe add some descriptive text nearby to make the action obvious for all users.
Ultimately, these advanced techniques aren't just for show. They ensure your overlays genuinely enhance the learning process instead of just creating a distraction, helping you build sophisticated training that works.
Proving the ROI of Your Interactive Videos
Making engaging training videos is a fantastic first step, but the real win is proving they actually impact the business. That’s what keeps the budget coming and gets leadership on board. It's one thing to say your videos are more engaging; it's another to have the hard data to prove it.
This is where the analytics inside a platform like Mindstamp become your secret weapon. By tracking exactly how your team interacts with overlays, you can stop guessing and start knowing. You'll see which elements are hitting the mark and which ones are getting skipped, giving you a data-driven way to show the tangible value of your interactive video strategy.
Pinpointing the Metrics That Matter
Don't get bogged down in a sea of data. The key is to zero in on the Key Performance Indicators (KPIs) that directly link back to how effective your training is. These specific numbers tell a compelling story about how a video image overlay is changing behavior and helping people learn.
Here’s what I always recommend focusing on:
- Click-Through Rates (CTR): What percentage of employees are actually clicking on your interactive elements? If you have a high CTR on a "Download the Guide" button, that's a clear signal that people want more of that kind of resource.
- Viewership Duration: This one's simple but powerful. Compare the average watch time of videos with overlays to those without. Longer viewing times almost always mean people are more locked in.
- Assessment Completion Rates: If an overlay links to a quick quiz or a knowledge check, how many people are following through and finishing it? This is a direct measurement of how well they're grasping the material.
When you track these specific data points, you can confidently show that your training isn't just being passively watched—it's being actively experienced. It's how you prove that interactive elements lead to deeper engagement and better results. For a deeper dive, check out our guide on how to calculate the ROI on corporate training.
Interpreting Data to Refine Future Content
The numbers you collect shouldn't just live in a spreadsheet. They need to inform what you create next. For instance, if you see that an overlay explaining a tricky technical term gets a ton of clicks, that’s your cue to add more in-context definitions to your future videos.
On the flip side, if a clickable scenario is consistently getting ignored, maybe it’s in the wrong spot or the design isn't compelling enough. It's time to rethink it.
Your analytics are a direct line to your learners. The data tells you exactly what they need, where they’re getting stuck, and how you can make their experience even better.
This cycle of creating, measuring, and then refining is what truly separates good training from great training. It guarantees that what you’re building is always aligned with what your team needs and what the business wants to achieve.
This focus on viewer interaction isn't just a hunch; it's where the whole market is headed. The digital video market, which was valued at USD 243.97 billion in 2025, is on track to nearly double by 2030. That's a massive investment in technologies that make video more interactive. You can read more about these digital video market trends to see how this growth is shaping corporate strategies. By using analytics, you’re not just keeping up—you're proving your interactive video strategy delivers a measurable return.
Common Questions About Video Overlays
Even with a solid plan, questions pop up. This is especially true when you’re building corporate training videos, where every single element on screen needs to have a purpose. Let's dig into some of the most common questions we hear about using a video image overlay.
What Is the Best File Format for Image Overlays?
Nine times out of ten, PNG is your best friend.
The magic of the PNG format is its support for transparency. This is what lets you place a company logo, a sleek icon, or any other graphic on your video without that clunky, solid background box. The result is a much cleaner, more professional look that feels integrated into the video.
JPEGs are totally fine for full-screen images where transparency isn't an issue, but they just don't have that key feature. A quick pro-tip: always remember to optimize your images for the web before you upload them. This ensures they'll load quickly for all your learners, no matter their internet speed.
How Do I Keep Overlays From Being Distracting?
This one comes down to two things: purpose and placement. An overlay should never feel random. It has to connect directly to a learning goal. The easiest way to keep things looking sharp is to stick to your company's official brand guidelines for colors and fonts. This creates a consistent visual experience that viewers are already familiar with.
To keep your overlays from blocking important information:
- Tuck them into the corners or along the lower third of the screen. Think of where you see graphics on a news broadcast.
- Use them sparingly. A few well-placed overlays are way more effective than a screen cluttered with graphics.
- Make sure there’s enough color contrast between the overlay and the video behind it so it’s easy to read.
The golden rule is this: an overlay should support the main content, not compete with it. If it’s pulling focus from what you're trying to teach, it’s not doing its job.
Can I Use Animated GIFs as Overlays in Mindstamp?
Absolutely. Mindstamp fully supports animated GIFs, and they can be a fantastic tool when used thoughtfully.
Imagine a subtle, blinking arrow pointing to a critical button in a software tutorial. Or maybe a simple looping animation that illustrates a process much better than a static image could. That’s where GIFs shine.
Just use them with a bit of caution. Overly flashy or fast animations can be really distracting and might even slow down the video's load time on weaker connections. When it comes to motion, a little goes a long way in directing a learner’s attention.
How Do I Make My Video Overlays Accessible?
For corporate training, accessibility isn’t just a nice-to-have; it's a must.
If you have a clickable overlay that links out to a resource, it's good practice to also mention that resource in your narration or add a clear text call-to-action nearby. This ensures that learners who rely on screen readers don't miss out on essential information. Using a platform like Mindstamp that also supports transcripts adds another critical layer of accessibility, helping everyone understand the full context of your video.
Ready to turn your passive training videos into truly active learning experiences? With Mindstamp, you can easily add interactive image overlays, quizzes, and even branching scenarios to engage your team and actually measure the impact of your training. Get started with Mindstamp today and see the difference for yourself.
Get Started Now
Mindstamp is easy to use, incredibly capable, and supported by an amazing team. Join us!


Try Mindstamp Free


