
How to Embed a Video with HTML for Corporate Training


You can embed a video in your site a couple of different ways: using the HTML <video> tag for files you host yourself, or grabbing an <iframe> embed code from a platform like YouTube or Vimeo. The <video> tag offers total control over the experience, but an <iframe> is usually faster and easier to get up and running.
This guide will walk you through both methods, with a special focus on making them work for corporate training.
Why Modern Corporate Training Relies on Embedded Video
Let’s be honest, those static PDFs and marathon slide decks just don’t cut it anymore. Today's corporate training has to be dynamic, accessible on demand, and—most importantly—measurable. Embedded video is the key to making that happen.
When you integrate video directly into your learning management systems (LMS), onboarding portals, and internal wikis, you’re not just sharing information. You're creating a richer, more engaging learning experience.
This shift turns training from a passive, one-size-fits-all lecture into an active resource people can tap into whenever they need it. Imagine a new hire's onboarding portal featuring a welcome video from the CEO, or a tricky software tutorial embedded right where your team needs it in a support article. This is exactly why knowing how to embed a video with HTML has become such a vital skill for L&D professionals.
Boosting Engagement and Knowledge Retention
Video is just flat-out more engaging than plain text. It hits multiple learning styles at once—visual, auditory, and even kinesthetic—which makes complex information way easier to digest and remember. When employees can actually see a process demonstrated instead of just reading a wall of text about it, the lesson sticks.
One of the biggest wins with embedded video is the massive jump in how long people stay on a page. The data shows users spend 70–88% more time on pages with video content, which naturally leads to better engagement and more sharing. This impact is a huge reason why many corporate budgets now set aside 21–30% specifically for creating and distributing video content. You can dive deeper into these content engagement statistics here.
Delivering Consistent Training at Scale
For companies with remote or distributed teams, making sure every single employee gets the same high-quality training can be a real headache. Embedded video solves this problem beautifully.
A single, well-produced training video guarantees that every team member gets the exact same information, delivered in the exact same way—no matter their location or time zone. That kind of consistency is crucial for mission-critical topics like:
- Compliance Training: Making sure all employees understand and acknowledge company policies and legal requirements.
- Software Rollouts: Giving everyone uniform guidance on new tools and workflows to cut down on confusion.
- Safety Procedures: Demonstrating critical safety protocols clearly and consistently across all job sites.
At the end of the day, learning how to embed a video with HTML isn't just a technical exercise. It’s a strategic advantage that helps you build a more effective and scalable training program.
Choosing the Right Video Embedding Method
When you're ready to embed a video with HTML for your corporate training program, you'll find yourself at a fork in the road. One path leads to using the native HTML5 <video> tag for files you host yourself. The other uses an <iframe> to pull in content from a platform like YouTube or Vimeo.
This isn't just a technical choice—it has real-world implications for your security, branding, and budget.
The first question to answer is simple: is your video source internal, or is it coming from an external platform? This flowchart can help you visualize that decision.
As you can see, the right method really just boils down to where your video lives. Let's dig into what that actually means for your training content.
The Case for the HTML5 Video Tag
The <video> tag is your go-to when you need maximum control. Think about sensitive, proprietary information—things like internal process walkthroughs or confidential company announcements. For that kind of content, self-hosting is non-negotiable. It keeps everything securely on your own servers, far away from public platforms.
This method also gives you total command over the player's look and feel. You can style it to perfectly match your company's branding, get rid of any features you don't want, and create a completely seamless experience inside your learning management system (LMS). No third-party logos or distracting "suggested videos" to pull your employees away from the material.
Of course, this control comes with responsibility. You're on the hook for managing the video hosting, which means dealing with server space and bandwidth costs that can add up as your content library grows.
When to Use an iFrame Embed
On the flip side, an <iframe> embed is perfect when you need speed and simplicity. If you’re creating public-facing videos like product tutorials or marketing content for recruitment, it makes a ton of sense to lean on the powerful infrastructure of a platform like YouTube.
These platforms handle all the heavy lifting of hosting, transcoding, and content delivery. That ensures a smooth, buffer-free playback experience for users anywhere in the world. It’s a major reason why many learning and development teams use a mix of both methods, leveraging platform convenience for external content while keeping sensitive training in-house.
Comparing HTML5 Video and iFrame Embeds for Training
Deciding between these two methods can be tough, especially in a corporate training context where security and user experience are paramount. This table breaks down the key differences to help you make an informed choice.
Ultimately, the <iframe> route is a trade-off: you give up some control in exchange for convenience. While you get easy implementation and rock-solid performance, you lose the ability to completely customize the player and have to live with the platform's branding and terms of service.
No matter which method you pick, making sure your videos follow responsive web design best practices is absolutely critical. A responsive player, whether from a <video> tag or an <iframe>, guarantees that every employee gets a great experience, whether they're on a desktop, tablet, or their phone. That kind of flexibility isn't just a nice-to-have; it's fundamental to any modern training strategy.
Using the HTML5 Video Tag for Custom Training Content
When you're dealing with proprietary training content that absolutely has to stay within your company's walls, the HTML5 <video> tag is the way to go. It gives you direct, fine-grained control, letting you build a completely custom, on-brand viewing experience right inside your learning portal or internal site. No third-party platforms needed.
If you're curious about the history behind this, taking a look at the evolution of web design from HTML can give you some great context on how we got here.
This approach is all about self-hosting, meaning you're storing the video files on your own servers. That comes with its own set of responsibilities, of course. For a deeper dive, check out this guide on what it means to self-host videos on Mindstamp.
Alright, let's get our hands dirty and see how it actually works.
Key Attributes for Tailoring the Learner Experience
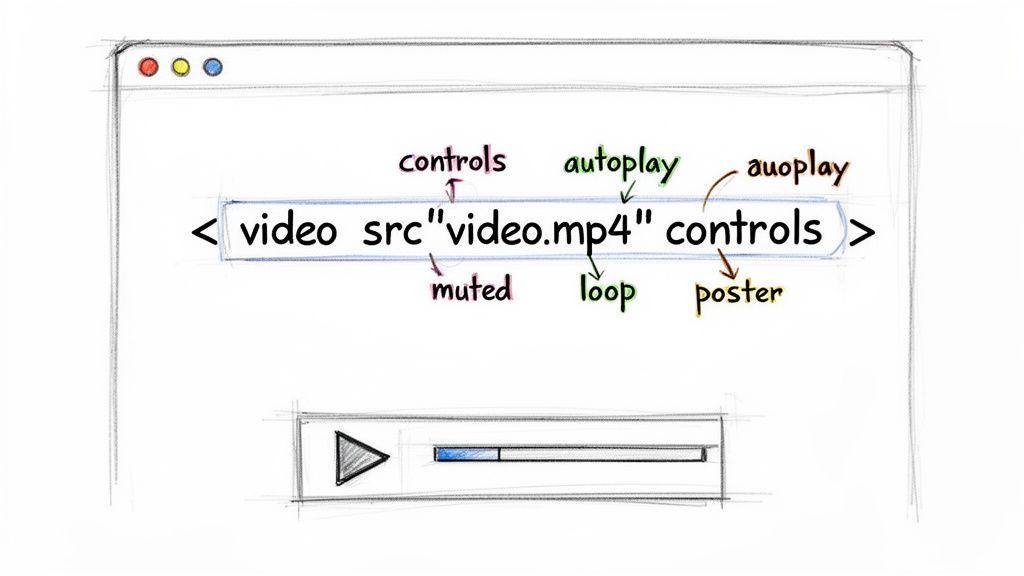
The real magic of the <video> tag comes from its attributes. These are simple keywords you add to your HTML that tell the browser exactly how the video should behave. Think of them as the control panel for your video player.
Here are the ones you'll find yourself using most often for training material:
src: The non-negotiable one. This points to your video file's location, just like how an<img>tag points to a picture.controls: This is your bread and butter. It adds the standard player controls—play/pause, volume, fullscreen, and the scrub bar. It's a must-have for just about any training video.autoplay: As the name suggests, it tries to play the video as soon as the page loads. But be warned: most modern browsers will block this unless the video is alsomuted.muted: This starts the video with the sound off. It's often the key to gettingautoplayto work correctly.loop: Great for short, decorative background videos. It makes the video start over from the beginning as soon as it ends.poster: This lets you specify an image to show before the video plays, like a custom thumbnail or a title card for your module.
Real-World Scenario: A Looping Homepage Video
Let's say you're building out the homepage for a new internal training portal. You want a sleek, silent video playing in the background to give the page a professional, dynamic feel. This is the perfect job for a combination of autoplay, muted, and loop.
The code would look something like this:
<video width="100%" autoplay muted loop poster="path/to/your/poster-image.jpg"><source src="path/to/your/background-video.mp4" type="video/mp4">Your browser does not support the video tag.</video>With this setup, the video starts playing instantly, without sound, and repeats forever. The poster attribute is a nice touch, ensuring a clean static image is displayed while the video is loading or in the rare case it can't play.
Real-World Scenario: A Standard Training Module
Now for a more typical use case: a software tutorial. In this situation, the learner needs to be in the driver's seat. They have to be able to pause, rewind, and crank up the volume. That makes the controls attribute absolutely essential.
Key Takeaway: Always use the
controlsattribute for instructional videos. Stripping away the learner's ability to control playback is a recipe for frustration and kills knowledge retention. Give them the tools they need to learn their way.
The HTML for this is refreshingly simple:
<video width="640" height="360" controls poster="path/to/your/tutorial-thumbnail.jpg"><source src="path/to/your/software-tutorial.mp4" type="video/mp4">Sorry, your browser doesn't support embedded videos.</video>This simple block of code gives you a video player with a clear starting thumbnail and all the controls a user would expect. Once you get comfortable with these attributes, you can move past one-size-fits-all embeds and start crafting the precise viewing environment your learners need to succeed.
Embedding Platform Videos for Speed and Simplicity
While the HTML5 <video> tag gives you the ultimate in-house control, sometimes you just need to get content live—fast. This is where embedding videos from platforms like YouTube or Vimeo with an <iframe> is an absolute lifesaver.
This approach essentially outsources all the heavy lifting. Hosting, transcoding, and global delivery are all handled by the platform, making it a ridiculously efficient way to embed a video into your site or training portal. It’s perfect when speed and reliability trump the need for tight, behind-the-firewall security—think public tutorials, marketing content, or recruitment videos.
Grabbing the iFrame Embed Code
Getting the code couldn't be easier. Just head over to the video on YouTube or Vimeo, look for the "Share" button, and then click the "Embed" option. You'll get a neat little block of <iframe> code ready to go.
Simply copy this entire snippet and paste it directly where you need it—your learning management system (LMS), internal wiki, or company blog. In seconds, a fully functional video player appears on your page. For a more detailed walkthrough, we’ve got a comprehensive guide on how to properly embed video that covers all the bases.
Customizing Playback with URL Parameters
Here’s where you can really tailor the experience for your team: URL parameters. These are little add-ons you tack onto the video's URL inside the <iframe> src attribute. For training content, they are critical for keeping learners focused and on-task.
By tweaking the URL, you can control exactly how the video behaves. Here are a few must-haves for any training scenario:
?rel=0(YouTube): This is probably the most important one. It stops YouTube from showing a grid of distracting, related videos from other channels after yours is done. No more rabbit holes.?start=30(YouTube): Need to skip the intro and jump right to the action? This parameter starts the video at a specific number of seconds in, getting your team straight to the point.#t=1m15s(Vimeo): Vimeo uses a slightly different format for the same function. This handy parameter starts the video at a specific timestamp—in this case, 1 minute and 15 seconds.
By stringing these together, you create a much cleaner, more directed learning path. For example, a URL ending in
?rel=0&start=45would show no related videos and start the playback 45 seconds in. It transforms a generic embed into a focused, seamless experience.
With just a few simple modifications, you can turn a standard embed into a powerful training tool. You get the speed and reliability of a major platform while still keeping a firm grip on the learner's journey.
Transforming Passive Videos Into Interactive Learning Tools
Okay, so you know how to embed a video with HTML. That's the foundation. But to really make an impact, especially in corporate training, you have to get people leaning in, not leaning back. We need to move beyond just passive viewing and create active learning experiences.
This is where interactive video platforms like Mindstamp completely change the game. Mindstamp is an interactive video platform that allows customers to create engaging, interactive learning and training content.
Imagine taking any of your standard embedded videos—whether it’s a simple <video> tag or a YouTube <iframe>—and layering powerful engagement tools directly on top. A simple information dump suddenly becomes a dynamic, two-way experience that actually measures comprehension and drives action.
Beyond Play and Pause
Let's be honest, standard video players are pretty limited. But adding an interactive layer opens up a whole new world of possibilities, letting you build genuine learning paths right inside the video.
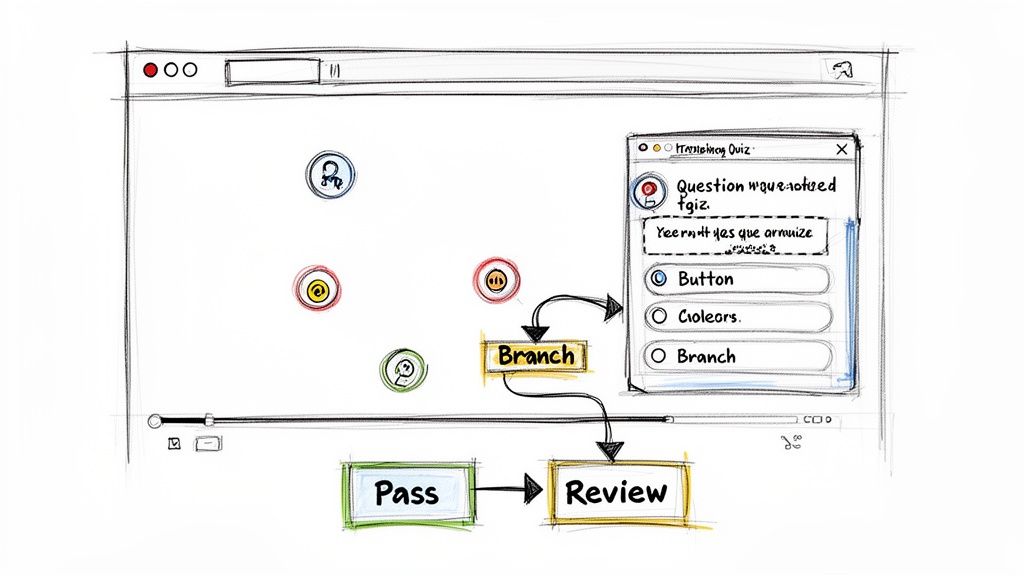
You can add elements like:
- Clickable Buttons and Hotspots: Guide learners to supplementary resources, downloadable PDFs, or other training modules without them ever having to leave the video player.
- In-Video Questions: Pop in a multiple-choice question or an open-ended prompt at a key moment to check for understanding right then and there.
- Branching Scenarios: This is where it gets really interesting. You can create personalized journeys where a viewer's answer determines which part of the video they see next. It’s perfect for complex role-playing or decision-making simulations.
This stuff isn't just a "nice-to-have" feature. The data shows that interactive elements can dramatically boost results. Some formats have seen click-through rates as much as 10x higher than their passive counterparts. You can discover more insights on the impact of interactive video and see how it’s changing the landscape.
A Practical Compliance Training Example
Think about that mandatory annual compliance training video everyone dreads. Instead of just pressing play and hoping employees are paying attention, you can require them to correctly answer quiz questions after each section before they can move on.
This simple change accomplishes two critical goals at once. First, it guarantees active participation, not just passive screen time. Second, it generates hard data that proves each employee has actually understood the essential compliance material.
This approach turns a standard embedded video into a trackable, measurable, and far more effective training asset. It closes the gap between simply showing content and ensuring learning has actually happened.
Common Questions About Embedding HTML Video
Once you get the hang of the basics, you'll find that embedding video with HTML is pretty straightforward. But every now and then, a few common hurdles pop up, especially when you're building out a corporate training library.
Think of this as your quick-reference guide for troubleshooting those nagging issues on the fly. We'll walk through the most frequent questions we see, from mobile playback snags to accessibility must-haves.
How Do I Make My Embedded Videos Responsive?
This is easily the most common challenge. You need your training videos to look great everywhere—from a big desktop monitor in the office to a smartphone on the go. A video that’s too wide on a small screen is a terrible experience and just looks unprofessional.
The secret is to stop using fixed width and height attributes in your HTML. Instead, let CSS do the heavy lifting.
- For the
<video>tag: The fix is incredibly simple. Just applywidth: 100%;andheight: auto;to your video element in your CSS. This tells the video to fill whatever container it's in while automatically adjusting its height to keep the aspect ratio perfect. No more weirdly stretched or squashed videos. - For
<iframe>embeds: The best practice here is to wrap the iframe in a container<div>. From there, you can either use the modern CSSaspect-ratioproperty on the iframe itself or fall back on the classic "padding-top" trick on the container to lock in that perfect 16:9 or 4:3 ratio.
With this approach, you can be confident your training modules will look polished and professional on any device your team grabs.
What Are the Best Practices for Video Accessibility?
Accessibility isn't just a "nice-to-have" feature; it's an absolute must for creating inclusive training programs where every single employee can participate. An inaccessible video doesn't just exclude team members with disabilities—it can also open you up to legal compliance risks.
To get it right, focus on these key areas:
- Provide Captions and Subtitles: For learners who are deaf or hard of hearing, captions are non-negotiable. Use the
<track>element right inside your<video>tag to link to a WebVTT file that contains all your timed text. - Offer a Full Transcript: It's a great practice to include a complete text version of the video's audio right on the page. This is a huge help for users with hearing impairments, but it also benefits people who just prefer to read or need to quickly search for a specific piece of information.
- Avoid Unmuted Autoplay: A video that starts blaring audio out of nowhere can be incredibly disruptive, especially for anyone using a screen reader. If you feel you absolutely must use
autoplay, always pair it with themutedattribute. This gives the user total control over when they hear the sound.
Building accessibility into your workflow from the very beginning is the best way to ensure every employee has equal access to critical training materials. It’s a cornerstone of a more inclusive and effective learning culture.
My Self-Hosted Video Is Not Loading. What Should I Check First?
That sinking feeling is all too familiar: you’ve embedded your video, refreshed the page, and all you see is a blank space or a broken icon. Don't panic—the fix is usually something simple.
When a self-hosted video won't load, run through this checklist in order:
- Check the File Path: A simple typo in the
srcattribute is the culprit 90% of the time. Double-check that the path to your video file is exactly right. Pay close attention to folder names, hyphens, and file extensions. - Confirm File Location: Are you sure the video file was actually uploaded to the correct directory on your server? It’s worth a quick look in your file manager or FTP client to verify it’s where it should be.
- Verify the Format: Make sure your video is in a format that all modern browsers can agree on. MP4 (using the H.264 codec) is the gold standard for universal support.
- Inspect the Browser Console: If you've checked the above and you're still stuck, it's time to bring in the big guns. Open your browser’s developer tools (usually with F12) and look at the console. It will often spit out a specific clue, like a "404 Not Found" error, that points you directly to the problem.
Ready to move beyond passive playback and create training experiences that actually stick? With Mindstamp, you can add interactive questions, branching scenarios, and powerful analytics to any video you embed. Start your free trial today and see how easy it is to build smarter training content.
Get Started Now
Mindstamp is easy to use, incredibly capable, and supported by an amazing team. Join us!


Try Mindstamp Free


