 Brett Lindenberg
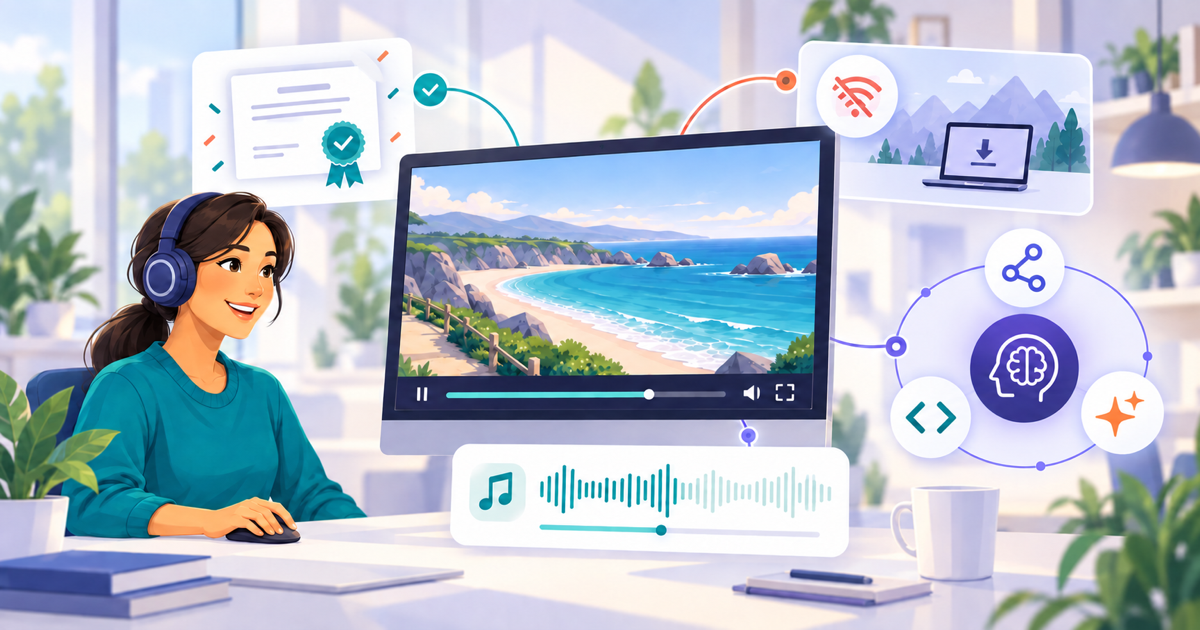
This update adds eleven features to Mindstamp. Some make the editor faster: timeline zoom and pins, bulk edit, a top position for the player controls, and an import that keeps the original times. Some give viewers more to do: a Share Video action, a Change Language action, and a next action after clip, audio, and image answers. Three are for training: quiz retakes with a pass score, and playlists that unlock videos in order, issue a certificate, and can sell access. The rest are for account security, lead alerts, and developers.
Each section shows the feature in a short clip and lists the steps to set it up.
Timeline zoom and pins
In a long video, interactions can sit a fraction of a second apart, and the full-length timeline makes them hard to place. You can now zoom the editor timeline in to the exact frame and out again to see the whole video.
Pins mark the moments you come back to, such as the start of a quiz or a scene change. Each pin has a name, and every time field in the editor lists your pins. To show an interaction at a pin, or to jump to it, you pick it by name instead of typing a time.
Zoom the timeline and add a pin
- Open a video in the editor. The timeline is under the video.
- Select + to zoom in and − to zoom out. Select Fit to see the whole video again.
- Move the playhead to a moment you want to mark, then select + Pin or press M.
- Type a name for the pin and press Enter.
- In any time field, open the list of times and type the pin name. Select the pin to use its time.
Share Video and Change Language actions
Two new click actions work on buttons, hotspots, text, images, and question answers.
Share Video opens a share panel in the player. Viewers can post the video to LinkedIn, X, Facebook, WhatsApp, Threads, Bluesky, Reddit, Telegram, Microsoft Teams, or Google Classroom, send it by email or text message, or copy the link. You can add a note that fills in the post. Before this action, you had to paste a separate share link for each network into an Open Link button.
Change Language switches the video to a language you choose. The on-screen text, the captions, and the audio change when the video has them in that language. Put a language choice at the start of a translated or dubbed video, and viewers do not need the settings menu.
Add a share or language button
- Add or edit a button, hotspot, or answer.
- Set Click Action to Share Video. If you want, type a note in Note (optional).
- Or set Click Action to Change Language and pick a language. The list shows the languages your video has from dubs, translations, and captions.
- Save the interaction.
Facebook, LinkedIn, and Google Classroom do not accept text that another site fills in. For those three, the player copies your note so that viewers can paste it into their post.
Player controls on top
Some videos have text, graphics, or a speaker's name along the bottom edge. The player control bar covers them when a viewer moves the mouse. You can now put the control bar at the top of the video. Captions, chapter titles, and tooltips move with it.
Move the controls
- Open a video and select Design.
- Select the Player tab.
- Set Controls position to Top. The live preview shows the change.
To move the controls on many videos at once, use Bulk edit, which is described below.
A next action after clip, audio, and image answers
A multiple choice answer can play a video clip, play an audio clip, or show an image. Before this update, the video continued from the same point when the clip or image closed. Now you can set a next action for these answers. For example, a viewer picks a product, sees its photo, and then the video jumps to the part about that product.
Set a next action
- Edit a multiple choice or dropdown question.
- For an answer, set Action to Play Video Clip, Play Audio Clip, or Show Image, and choose the clip, audio, or image.
- Set Next Action, for example Change Time, and set its value.
- Select Save.
The next action runs when the clip or audio ends, or when the viewer closes the clip, audio, or image.
Quiz retakes with a pass score
A compliance or training video often needs a minimum score. You can now set a pass score on a quiz video. Viewers who score below it see their score and a button to try again, and the video starts again at the time you choose. Viewers who pass get your normal end action.
Each attempt is a new play. Your reports show every attempt, and certificates and playlist completion use the score from the attempt that counts under your scoring settings.
Set a pass score
- Open a video that has at least one question with a correct answer.
- Select End Screen and turn on Require a score to finish.
- Set the Pass score and the time in Retake starts at.
- If you want, change the Retake message and the Retake button text.
- Under When the viewer passes, choose what happens after a passing score.
Playlists that work as courses: required order, a certificate, and a paywall
A playlist can now run a full course without an LMS. With Require videos in order on, each video stays locked until the learner completes the videos before it, under the completion rules you set. Learners can always go back.
Learners who complete every video get one certificate for the playlist, and you can require a minimum overall score for it.
You can also sell the whole playlist for one price, up to $999. Buyers pay once with Stripe and get an access link by email. Access lasts forever by default and includes videos that you add later. Single videos with a paywall get the same new checkout.
Set up a course playlist
- Open a playlist and select the Settings tab.
- Turn on Learner sign-in. A certificate needs signed-in learners.
- Under Completion, set the minimum watch percent and, if you want, a minimum completion or score for each video.
- Turn on Require videos in order.
- Under Certificate, pick a design. If you want, set a Minimum overall score.
- To sell access, connect Stripe, turn on the Paywall, and set the price and how long access lasts.
- Select Save.
Two-factor authentication
You can now protect your Mindstamp account with a 6-digit code from an authenticator app. After you turn it on, Mindstamp asks for the code at each sign-in, including Google sign-in. Backup codes let you sign in if you lose your phone. On a browser you trust, you can skip the code for 30 days.
Account owners can require two-factor authentication for everyone in the organization. Members get an email and 7 days to set it up. Two-factor authentication is on every plan.
Turn on two-factor authentication
- Open Account and find Security.
- Select Turn on two-factor.
- Scan the QR code with Google Authenticator, 1Password, Authy, or another authenticator app.
- Enter the 6-digit code from the app and select Verify and turn on.
- Save your backup codes in a safe place.
To require it for your team, open Organization and turn on Require two-factor authentication for all members.
Bulk edit, redesigned
Bulk edit now covers nearly every video setting and design setting. Select the videos, tick the settings you want to change, and review the full list of changes before you apply them. Settings you do not tick stay as they are on each video, so one change does not reset the rest of a video's design.
Change settings on many videos
- Open Organization and select Bulk edit.
- Select videos in the list. Use search and filters to find them, or select every video that matches.
- In Settings, search for a setting by name, tick it, and set the new value.
- Select Review changes, check the list, and apply the changes.
Choose who gets lead alerts
When a video captures leads, Mindstamp can send an email about each new lead. You can now choose every address that gets these emails, so leads go straight to the people who follow up.
Set the recipients
- Open a video and select Lead Capture.
- Under Alerts, turn on Email alerts for new leads.
- Select Lead alert recipients, then add or remove email addresses.
Keep the original times when you import interactions
When you import interactions from a video of a different length, Mindstamp scales their times to fit the new video. Scaling helps with a new cut of the same video, but it moves every interaction when two videos share the same opening and only the ending differs. You can now turn scaling off, and each interaction keeps its time from the source video.
Import with the original times
- Open the video that gets the interactions, select More, and select Import interactions.
- Pick the source video and select the interactions to copy.
- Clear Fit timestamps to this video's length.
- Select the import button. It shows how many interactions you selected.
Upload files with the API and MCP
Your own code can now create a video from a local file. POST /api/v1/videos/uploads creates the video and returns a TUS upload ticket. Send the file with any TUS client, then call GET /api/v1/videos/:id/status until the state is ready.
For images, audio files, and documents, POST /api/v1/assets/uploads adds the file to your asset library. Use the asset ID in buttons, hotspots, and answers. New certificate endpoints list your certificate designs and issued certificates, and attach a design to a video.
The Mindstamp MCP server has the same tools for AI assistants, such as Claude: prepare_video_upload, prepare_asset_upload, and the asset and certificate tools. The REST API is on the Pro plan and higher.
Questions about this update
Do pins show to viewers?
No. Pins are only in the editor. Viewers see only the playbar markers that you turn on in your design.
Which languages does the Change Language action offer?
The languages your video already has: published dubs, translated interactions, and caption tracks. To add a language, translate or dub the video first.
What happens when a viewer passes on a retake?
The viewer gets the action under When the viewer passes, for example your end screen, a link, or the next video.
Do learners need a Mindstamp account for a course playlist?
No. Learners sign in with the fields you choose, such as name and email. Buyers of a paid playlist get their access link by email.
What happens if I lose my authenticator app?
Sign in with one of your backup codes, then set up two-factor authentication again on your new phone. If you have no backup codes, contact Mindstamp support.
Try the new features
Open Mindstamp to use these features in your account. For the previous update, read about playlist completion emails, Decisions, pop-outs, and more. New to Mindstamp? Read how to make an interactive video or book a demo.